FREE Shipping on Orders Over $50
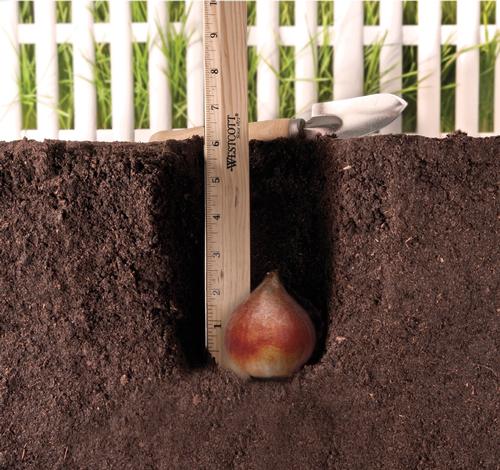
PLANTING IS AS EASY AS 1, 2, 3
1. Dig a hole that is 3 to 4 times deeper than the height of the bulb.
2. Set the bulb in the bottom of the hole, following the recommended spacing.
3. Replace the soil and completely cover the bulb. Watering is only necessary if the soil is very dry.

PLANTING TIPS
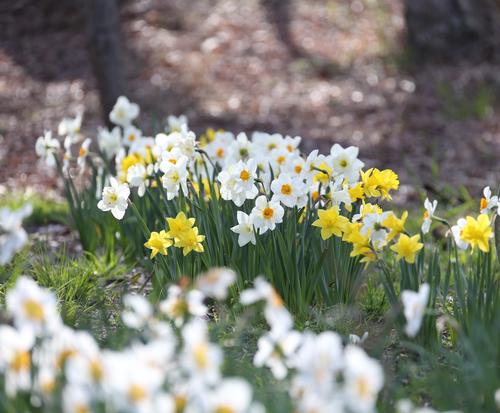
Most bulbs look best when they are planted in informal groups, rather than in single rows like soldiers.
DO: Plant in irregular shapes that are roughly rectangular, triangular or circular. This will give your plantings a fuller look, and will allow each bloom to be seen from several different angles. See top planting image.
DON'T: Plant in rows that are only 1 or 2 bulbs deep. This will make the planting look sparse and unnatural.
SOIL & LOCATION
Bulbs should be planted in well-drained soil. Avoid soggy areas where water collects. If the soil in your yard is heavy clay, sandy or stony, you can improve the planting areas by loosening the soil and adding peat moss or compost.
AFTERCARE
If you want your bulbs to rebloom the following year, let the foliage continue growing and die back naturally. Once the foliage has yellowed or become brown and dry, it can be removed. If you wish, faded flowers can be cut off after they bloom.
FOLLOW AND GROW WITH US!


